
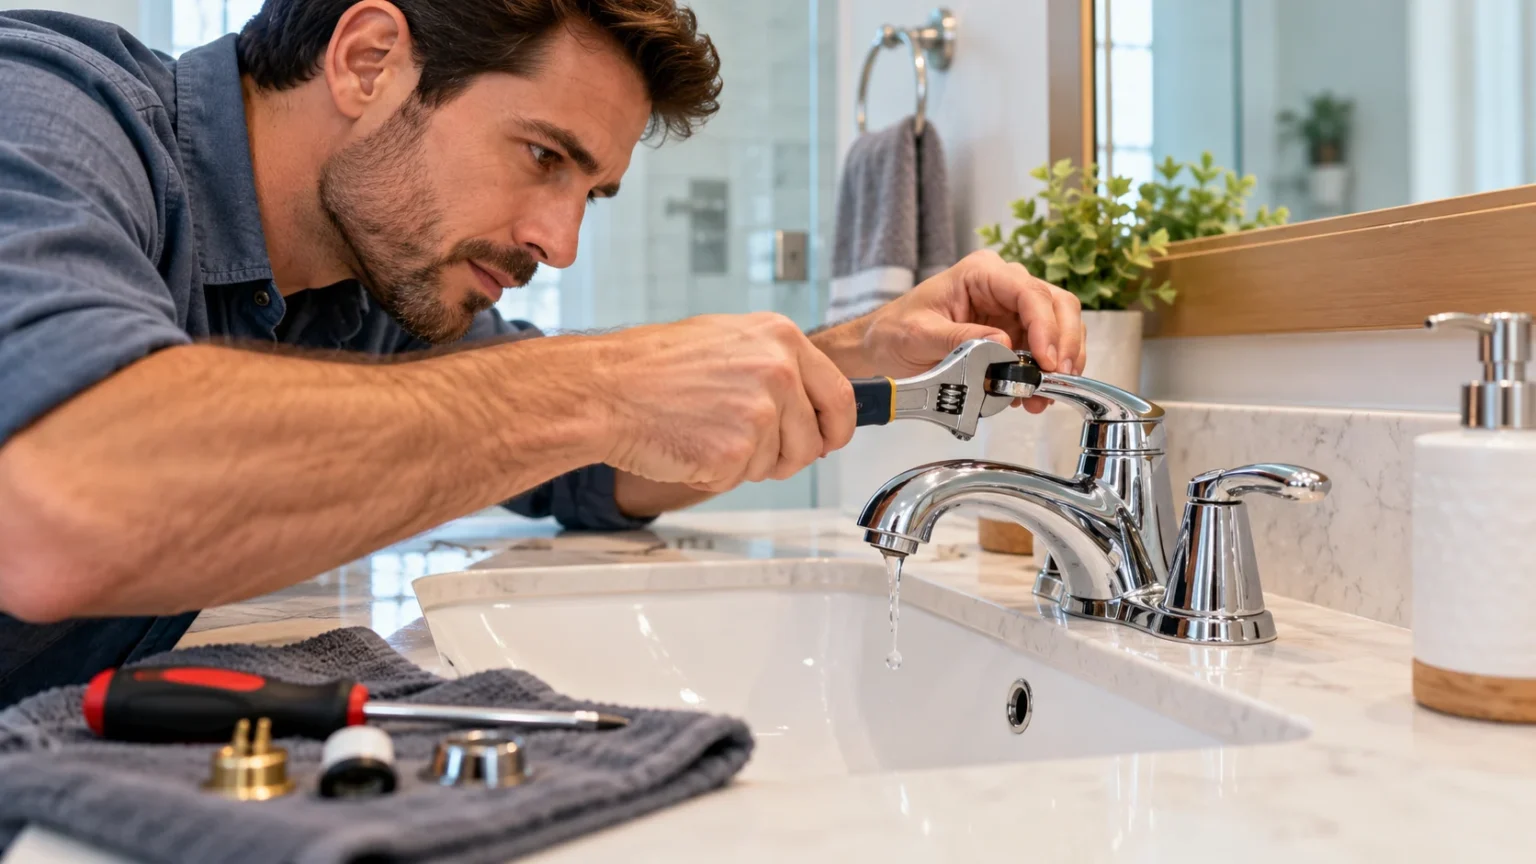
A leaking bathroom faucet can be frustrating, especially when the constant dripping wastes water and creates unnecessary noise. Even a small leak can gradually increase water consumption and leave mineral deposits around your sink. Fortunately, many common faucet leaks can be repaired without replacing the entire fixture, provided you identify the cause and use the correct replacement components.
Learning how to fix a leaking bathroom faucet can help homeowners save money, prevent water damage, and maintain their bathroom plumbing. Whether the problem involves a worn washer, damaged O-ring, faulty cartridge, or loose connection, understanding the basic repair process makes troubleshooting easier. This guide explains common faucet problems, practical repair methods, essential tools, and important maintenance tips.
Why Is My Bathroom Faucet Leaking?
Bathroom faucets can leak for several reasons, including worn internal components, mineral buildup, and deteriorating seals. Over time, repeated use places pressure on washers, cartridges, and other parts responsible for controlling water flow. When these components become damaged or worn, water may escape even when the faucet handle is fully closed.
One common cause of a dripping bathroom faucet is a worn rubber washer or damaged cartridge. Traditional compression faucets often rely on washers to create a watertight seal, while many modern faucets use replaceable cartridges. Identifying your faucet’s internal mechanism helps determine which components may need attention before attempting a repair.
Leaks can also develop around handles, faucet bases, and water supply connections. These problems may result from loose fittings, damaged O-rings, deteriorated seals, or installation issues. Locating the exact source of the leak is important because replacing the wrong component may not solve the problem and can create unnecessary repair expenses.
Identify the Type of Bathroom Faucet You Have
Before repairing a leaking bathroom faucet, determine which faucet mechanism controls the water flow. Different faucet types use different internal components, and their repair procedures are not identical. Common designs include compression, cartridge, ball, and ceramic disc faucets, although some modern fixtures use specialized proprietary mechanisms.
Compression faucets usually feature separate hot and cold handles that tighten against internal washers. Cartridge faucets may have one or two handles and control water through a removable internal cartridge. Ceramic disc faucets generally use durable ceramic components, while ball faucets operate through a rotating ball mechanism inside the faucet assembly.
You can often identify the faucet by checking its brand, model number, or manufacturer documentation. Product manuals may include diagrams showing internal parts and recommended replacement procedures. If the faucet’s identity remains uncertain, consulting a qualified plumber can prevent accidental damage from incorrect disassembly or incompatible replacement components.
Check Where the Bathroom Faucet Is Leaking
The location of a faucet leak can provide useful clues about its underlying cause. Water dripping from the spout after the faucet is fully closed often indicates a problem with an internal valve, washer, or cartridge. Leaks around the handle may suggest deteriorated seals or other components within the faucet assembly.
Water collecting around the faucet base requires closer inspection because it may originate from several locations. The leak might develop around the faucet body, beneath a handle, or from nearby sink connections. Drying the visible surfaces and observing where moisture first appears can help distinguish between these possibilities.
Leaks beneath the sink are particularly important because they can damage cabinets and surrounding materials if left unresolved. Water supply hoses, shutoff valves, and faucet connections should be examined for visible moisture. If water is escaping continuously or the source cannot be identified safely, turn off the supply and seek professional assistance.
Tools and Materials Needed to Fix a Leaking Faucet
Repairing a bathroom faucet often requires a few common household tools and replacement components. Depending on the model, these may include an adjustable wrench, suitable screwdriver, Allen key, soft cloth, and replacement seals or cartridges. Using tools that fit the fixture correctly helps reduce the risk of damaging decorative finishes or internal components.
Replacement parts should match the faucet’s manufacturer specifications whenever possible. Washers, cartridges, and O-rings vary in size, shape, and design, even when different faucets look similar. Choosing compatible components helps ensure proper sealing and reduces the likelihood of leaks returning shortly after the repair.
Before beginning, prepare a clean work area and protect the sink surface from scratches or dropped components. Keep small parts organized so they can be reassembled correctly. If the repair requires unfamiliar plumbing work or specialized tools, hiring a qualified plumber may be more practical than attempting extensive disassembly.
Turn Off the Water Supply Before Repairing the Faucet
Turning off the water supply is an essential precaution before opening a bathroom faucet. Most sinks have individual shutoff valves located beneath the basin, usually connected to the hot and cold supply lines. These valves allow water to be isolated without interrupting the supply to every fixture in the home.
Once the supply valves are closed, carefully open the faucet to check that water flow has stopped. This also helps release remaining pressure within the fixture. If water continues flowing or the shutoff valves appear damaged, do not proceed with disassembly until the supply has been isolated properly.
Some bathrooms do not have accessible or functioning local shutoff valves. In these situations, the main household water supply may need to be turned off by someone familiar with the plumbing system. Never force a seized valve because damage could create a larger leak requiring immediate professional attention.
How to Fix a Dripping Compression Faucet
Compression faucets commonly develop leaks when their internal washers become worn or lose their ability to seal properly. These fixtures usually have separate handles for hot and cold water. A persistent drip may indicate that one of the internal sealing components requires replacement, although other valve damage can produce similar symptoms.
After the water supply has been safely isolated, the faucet can be inspected according to its manufacturer instructions. The relevant handle and internal valve components may need to be removed to examine the washer and valve seat. Worn, hardened, or visibly damaged sealing parts should be replaced with compatible components rather than reused.
During reassembly, components should be positioned correctly and tightened according to the manufacturer’s recommendations. Excessive force can damage threads, washers, and delicate faucet parts. Once the fixture is reassembled, restoring water gradually and checking for leaks helps confirm whether the repair has addressed the original problem.
How to Repair a Leaking Cartridge Faucet
Cartridge faucets are common in modern bathrooms because they provide convenient control over water flow and temperature. When a cartridge becomes worn, damaged, or affected by mineral deposits, the faucet may continue dripping after the handle is closed. Leakage around the handle can also indicate a problem within the cartridge assembly.
The repair process depends on the faucet model and the way its cartridge is secured. After isolating the water supply, the handle and retaining components can be examined using the manufacturer’s instructions. Because some cartridges require specific removal methods, identifying the correct model before attempting replacement helps prevent unnecessary damage.
A replacement cartridge should match the original component’s design and specifications. Installing an incompatible part may cause leaks, restricted water flow, or incorrect temperature control. After reassembly, the faucet should be tested carefully for smooth operation, proper temperature adjustment, and any remaining signs of leakage.
How to Fix a Leaking Ceramic Disc Faucet
Ceramic disc faucets use internal ceramic surfaces to control water flow and are generally designed for long-lasting performance. However, seals can deteriorate, mineral deposits may accumulate, and internal components can occasionally become damaged. These problems may cause dripping, reduced performance, or moisture around parts of the faucet body.
Repairing a ceramic disc faucet requires understanding its specific construction because many models contain specialized components. Some manufacturers offer replacement seals or cartridges, while others recommend replacing the complete internal assembly. Checking the product documentation is important before attempting to remove tightly fitted or delicate components.
If cleaning or replacing manufacturer-approved parts does not resolve the leak, professional assessment may be necessary. Damaged ceramic surfaces are not always suitable for individual repair. Choosing the correct replacement assembly and following proper installation procedures helps restore reliable operation without risking additional damage to the faucet.
How to Replace a Worn Faucet Washer
A worn washer is a common reason traditional compression faucets continue dripping after being turned off. Washers create a seal between internal components, limiting water flow when the handle is closed. Repeated compression, aging, and mineral buildup can gradually reduce their effectiveness and allow small amounts of water to escape.
Before replacing a washer, confirm that the faucet uses a washer-based mechanism and that the replacement part matches the original dimensions. Manufacturer guidance should determine the appropriate removal and installation method. A washer that is incorrectly sized or positioned may fail to seal properly, even when the surrounding faucet components remain undamaged.
The condition of the valve seat should also be considered when investigating repeated washer failures. A damaged or uneven seating surface may prevent a new washer from providing a reliable seal. Persistent leakage after replacement can indicate that additional parts require attention or that professional repair would be more appropriate.
How to Fix a Faucet Leaking Around the Handle
Water appearing around a bathroom faucet handle usually indicates a different problem from ordinary dripping at the spout. The cause may involve a deteriorated O-ring, worn packing material, or damage within the cartridge assembly. Identifying the faucet mechanism helps determine which sealing components are responsible for preventing water from escaping.
An O-ring is a small circular seal used in certain faucet assemblies to prevent leakage around moving components. Over time, friction and aging can affect its condition. When replacement is necessary, the new seal must match the manufacturer’s required dimensions and material specifications to provide reliable performance.
Leaks around the handle should be checked after any appropriate seal or cartridge repair. If moisture continues appearing despite replacement, other internal components may be damaged. Avoid overtightening handle assemblies because excessive pressure can harm threads, seals, and decorative fittings without correcting the source of the leak.
How to Stop Water Leaking From the Faucet Base
Water accumulating near the base of a bathroom faucet can come from internal seals, supply connections, or water running across the sink surface. Because several sources can create similar symptoms, identifying where the moisture originates is essential. Wiping the area dry and observing the fixture during normal operation can help narrow the possibilities.
If the leak occurs only while the faucet is running, water may be escaping from a connection or internal component above the sink. Moisture beneath the faucet can also indicate that water is passing through an opening in the countertop. Persistent leaks should be addressed promptly to protect nearby cabinets and surrounding materials.
Base leaks may require replacement seals, compatible mounting components, or professional inspection depending on the faucet design. Decorative sealant around the fixture should not be used to conceal an unresolved plumbing leak. Correcting the underlying source is more important than temporarily preventing visible water from reaching the countertop.
Check Bathroom Faucet Supply Lines and Connections
Water supply lines connect the bathroom faucet to the home’s plumbing system and can occasionally develop leaks. Flexible hoses, threaded connections, and shutoff valves are common areas where moisture may appear. Regular inspection helps identify early warning signs before small leaks cause damage inside cabinets or beneath bathroom flooring.
Signs of a supply-line problem may include visible dripping, damp cabinet surfaces, corrosion, or moisture around connections. If active leakage is present, isolating the water supply is an important first response. Damaged or deteriorated hoses generally require suitable replacement rather than temporary patching that could fail under normal water pressure.
Replacement supply lines must match the existing plumbing connections and meet applicable installation requirements. Incorrect fittings or excessive tightening can create new leaks and damage components. When connections are corroded, difficult to access, or unfamiliar, professional plumbing assistance is a sensible choice for preventing larger water-related problems.
Remove Mineral Buildup From Bathroom Faucet Parts
Hard water contains dissolved minerals that can leave deposits on bathroom faucets over time. These deposits commonly appear around spouts, aerators, and visible fixture surfaces. Mineral buildup may affect water flow and can sometimes interfere with internal components, although it is not responsible for every leaking faucet.
Cleaning removable components may help restore normal performance when deposits are the primary problem. However, cleaning products must be compatible with the faucet’s finish, seals, and internal materials. Certain acidic cleaners can damage sensitive coatings or natural stone countertops, so following manufacturer-approved maintenance instructions is important.
If the faucet continues dripping after mineral deposits are addressed, an internal sealing problem may still exist. Repeated cleaning will not repair a worn cartridge, damaged washer, or deteriorated O-ring. Identifying the actual cause helps prevent unnecessary maintenance and supports a more effective, long-lasting repair.
Common Mistakes to Avoid When Repairing a Leaking Faucet
One common mistake is beginning faucet repairs without completely isolating the water supply. Even a small amount of unexpected water flow can create problems when internal components are removed. Checking the shutoff valves and verifying that water has stopped helps prevent unnecessary mess and potential damage to the bathroom.
Another mistake is purchasing replacement parts based only on appearance instead of compatibility. Similar-looking cartridges, washers, and seals may have different dimensions or internal configurations. Using incorrect components can prevent proper operation and lead to continued leakage, making manufacturer information especially valuable during the repair process.
Overtightening fittings is another frequent problem because excessive pressure may damage threads, crack components, or deform seals. Homeowners should also avoid ignoring leaks that continue after an attempted repair. Persistent moisture may indicate a more complicated plumbing issue that requires professional attention rather than repeated adjustments.
How to Prevent Bathroom Faucet Leaks in the Future
Preventive maintenance can help extend the useful life of bathroom faucets and reduce unexpected plumbing problems. Regularly inspecting handles, connections, and visible surfaces makes it easier to notice early signs of leakage. Promptly addressing unusual dripping or moisture can prevent small issues from developing into more expensive repairs.
Avoid forcing faucet handles beyond their normal closed position because excessive pressure can increase wear on internal components. Clean visible surfaces using suitable products and follow manufacturer maintenance recommendations. In areas with hard water, paying attention to mineral buildup can also help maintain normal faucet performance and appearance.
Periodically checking beneath the sink is another useful maintenance habit. Look for dampness, corrosion, damaged hoses, and changes in the condition of cabinet materials. Replacing worn parts when necessary and addressing moisture problems quickly helps protect bathroom fixtures while reducing unnecessary water consumption.
When Should You Replace a Leaking Bathroom Faucet?
Repairing a faucet is often worthwhile when the fixture remains in good condition and compatible replacement parts are available. A worn washer, damaged seal, or faulty cartridge may be relatively straightforward to replace. These repairs can restore normal operation without the cost of purchasing and installing an entirely new faucet.
However, replacement may be more practical when the faucet has extensive corrosion, damaged internal surfaces, or repeated leaks. Older fixtures with discontinued replacement parts can also become difficult to maintain. Comparing repair costs with the price of a suitable new faucet helps homeowners decide which option offers better long-term value.
When selecting a replacement faucet, consider sink compatibility, mounting dimensions, finish durability, and water efficiency. Choosing a product that fits existing connections may reduce installation complexity and additional expenses. Proper installation and routine maintenance can help ensure the new faucet performs reliably for years.
When to Call a Professional Plumber for Faucet Repairs
Professional plumbing assistance is recommended when a faucet leak cannot be identified or resolved through ordinary maintenance. Persistent dripping, damaged shutoff valves, corroded connections, and recurring leaks may indicate more complicated problems. A qualified plumber can inspect the fixture and determine whether repair or replacement is appropriate.
Water damage beneath the sink is another reason to seek professional help. Damp cabinetry, swollen materials, recurring puddles, or unusual moisture around plumbing connections can indicate ongoing leakage. Addressing these problems promptly can help prevent deterioration of surrounding surfaces and reduce the risk of more extensive household repairs.
Homeowners should also consider professional installation when replacing complex faucets or working with unfamiliar plumbing components. A plumber can verify compatible fittings, inspect connection conditions, and test the completed installation for leaks. This additional support may be worthwhile when reliability, safety, and long-term performance are important priorities.
Conclusion
Fixing a leaking bathroom faucet begins with identifying the type of fixture and locating the source of the water leak. Common problems include worn washers, damaged cartridges, deteriorated O-rings, and leaking supply connections. Understanding these issues helps homeowners determine whether a simple component replacement can restore normal operation or whether additional assistance is necessary.
Successful faucet repairs depend on proper preparation, compatible replacement parts, and careful installation. Turning off the water supply, following manufacturer instructions, and avoiding excessive force can reduce the risk of accidental damage. Regular maintenance and early leak detection also help prevent unnecessary water consumption and protect surrounding bathroom surfaces.
Whether your faucet drips from the spout, leaks around the handle, or develops moisture beneath the sink, addressing the problem promptly is important. Minor repairs may restore reliable performance, while extensive damage can justify professional service or fixture replacement. With appropriate care and timely maintenance, bathroom faucets can remain functional, efficient, and dependable for many years.
Frequently Asked Questions (FAQs)
What is the most common cause of a leaking bathroom faucet?
Worn washers, damaged cartridges, and deteriorated internal seals are common causes of bathroom faucet leaks. The exact problem depends on the faucet design and where water escapes.
Can I fix a dripping bathroom faucet without replacing it?
Yes, many dripping faucets can be repaired by replacing compatible washers, cartridges, or seals. However, severely damaged fixtures or faucets with unavailable replacement parts may require complete replacement.
Why does my bathroom faucet drip after I turn it off?
A persistent drip often indicates that an internal washer, cartridge, or valve component is no longer sealing correctly. Identifying the faucet mechanism helps determine the appropriate repair.
How much does it cost to repair a leaking bathroom faucet?
Repair costs depend on the faucet type, replacement parts, labor rates, and complexity of the problem. Simple component replacements are generally less expensive than major repairs or complete fixture replacement.
When should I call a plumber for a leaking faucet?
Contact a plumber when leaks continue after basic repairs, shutoff valves are damaged, supply connections are corroded, or water is damaging surrounding cabinets and bathroom materials.