
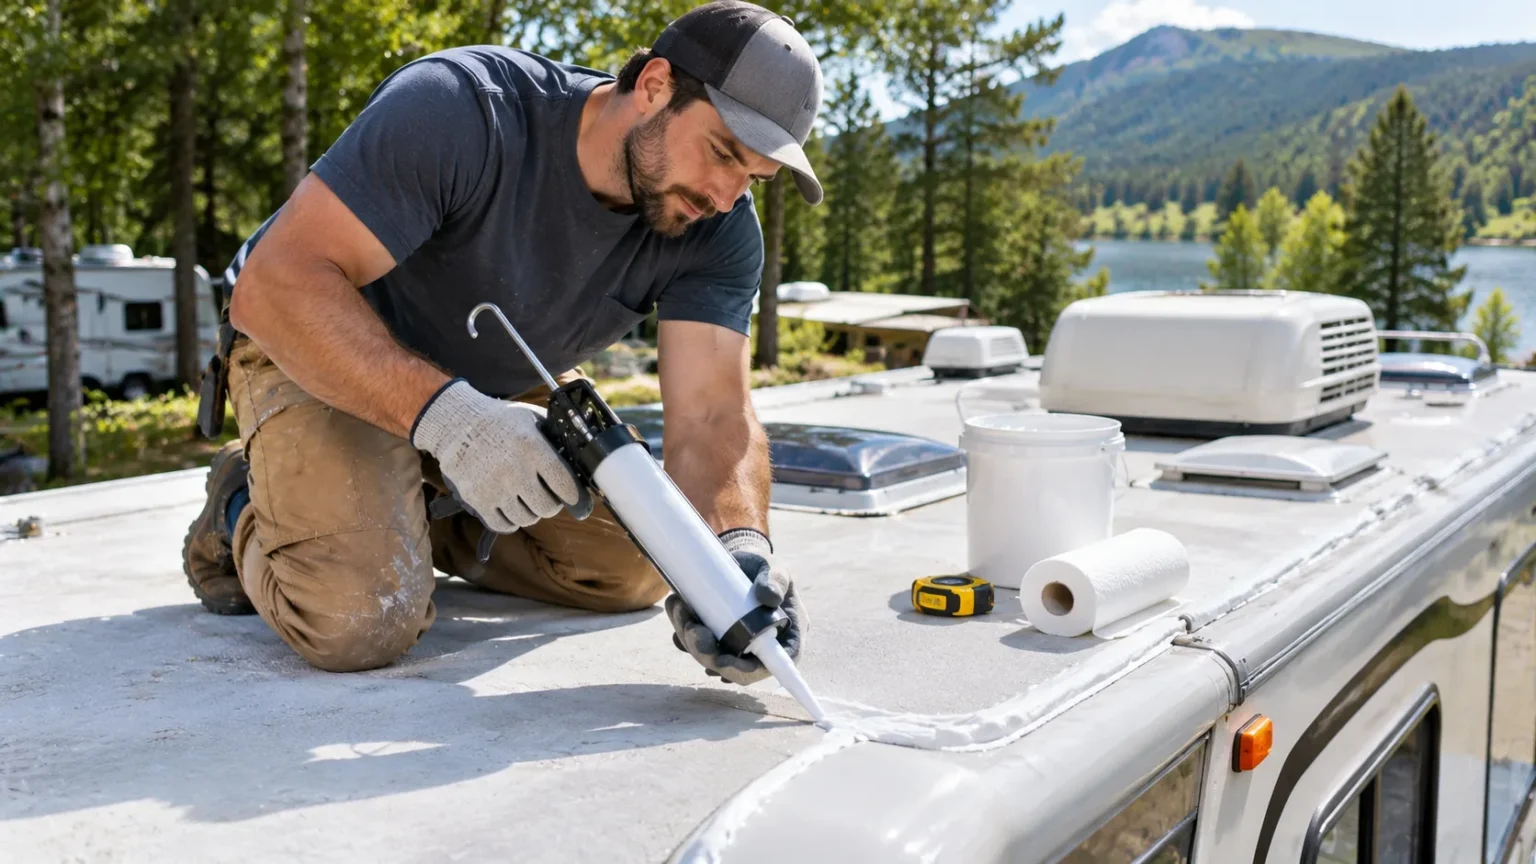
An RV roof protects your recreational vehicle from rain, sunlight, wind, and changing weather conditions. However, constant outdoor exposure can gradually weaken roof seams, joints, and sealing materials. Even a small opening can allow water to enter and damage insulation, ceilings, walls, or interior fixtures. Using the right RV roof sealant helps prevent minor leaks from developing into expensive repair problems.
Regular roof maintenance is essential for motorhomes, travel trailers, campers, and other recreational vehicles. Roof sealants create protective barriers around vulnerable areas such as vents, skylights, antennas, and roof edges. Different roofing materials require specific sealant formulations, so choosing the correct product matters.
This guide explains how RV roof sealants work, the different types available, and how to identify potential roof leaks. You will also learn practical maintenance tips, common application mistakes, and important factors to consider when protecting your RV from water damage.
What Is RV Roof Sealant?
RV roof sealant is a protective material designed to help prevent water from entering vulnerable areas of recreational vehicle roofs. It is commonly applied around seams, roof vents, skylights, antennas, and other exterior components. Depending on the product, it may form a flexible waterproof barrier that accommodates ordinary roof movement. Suitable sealants help protect the vehicle against moisture intrusion.
Unlike ordinary household caulking, many RV roof sealants are formulated for outdoor exposure and the movement associated with vehicle travel. Recreational vehicles experience vibration, temperature changes, and regular exposure to ultraviolet sunlight. These conditions can affect the performance of unsuitable sealing products. Choosing a sealant designed for the specific roofing system improves the likelihood of a durable repair.
RV roof sealant is available in tubes, cartridges, tapes, and liquid coating formulations. Each product category serves different maintenance or repair purposes. Some materials work best for small joints, while others are intended for larger roof sections. Understanding these differences helps owners select suitable products without relying on temporary or incompatible repairs.
Why RV Roof Sealing Is Important
Water leaks are among the most concerning maintenance problems for recreational vehicle owners. Moisture can enter through damaged seams, loose fittings, or deteriorated roof materials. Once water reaches concealed areas, it may affect insulation, interior panels, and wooden components. Repairing these problems can become costly when leaks remain unnoticed for extended periods.
Proper roof sealing helps reduce the likelihood of water entering through vulnerable joints and openings. Flexible sealant materials can accommodate limited movement caused by temperature changes and normal vehicle operation. However, sealant cannot repair every type of roof damage. Cracked roofing membranes, damaged structures, and major openings may require more extensive repairs.
Regular sealing and inspection can also support the long-term condition of an RV. Owners who identify small problems early may avoid larger repairs later. Preventive maintenance is particularly important before extended road trips or seasonal storage. Keeping roof components in suitable condition helps protect the vehicle and makes travel preparation more manageable.
Different Types of RV Roof Sealants
RV roof sealants come in several formulations designed for different materials and applications. Common options include self-leveling sealants, non-sag sealants, butyl-based products, compatible sealing tapes, and liquid roof coatings. Each type has different application characteristics and limitations. Selecting the correct category depends on the repair location, roof design, and manufacturer’s recommendations.
Self-leveling sealants are commonly used on suitable horizontal roof surfaces. Their flowing consistency helps them spread across joints and around certain fixtures. Non-sag sealants are designed to remain in place on vertical or sloped areas. Using the wrong consistency can result in poor coverage, unwanted movement, or difficulty achieving a reliable seal.
Sealing tapes and roof coatings serve additional purposes in recreational vehicle maintenance. Some tapes are designed to cover compatible seams or localized damage, while coatings may protect larger roof areas. These products cannot automatically replace damaged structural materials. Always confirm compatibility with the existing roof and any previous sealants before choosing a repair method.
Choosing the Best Sealant for Your RV Roof Material
RV roofs may contain EPDM rubber, TPO membranes, fiberglass, aluminum, or other manufactured materials. These surfaces have different characteristics that influence sealant adhesion and durability. A product suitable for one roof type may not perform correctly on another. Identifying the roofing material is therefore one of the most important steps in selecting a sealant.
EPDM rubber roofs require products approved for that particular membrane system. Certain incompatible solvents or coatings can damage roofing materials or interfere with adhesion. TPO roofs also require suitable formulations because their surface characteristics differ from EPDM. Owners should consult the roof manufacturer’s documentation rather than assuming all rubber roof sealants are interchangeable.
Fiberglass and metal roofs may have different sealing requirements around joints and attached components. Some compatible sealants bond effectively to these surfaces, while others require special preparation or primers. Existing coatings and previous repairs can further affect product compatibility. Following manufacturer guidance helps avoid unnecessary material damage and supports more reliable waterproofing.
How to Identify RV Roof Leaks Early
Early leak detection begins with regularly inspecting visible roof components and interior surfaces. Look for cracked sealant, loose edges, separated joints, or areas where existing material has deteriorated. Roof fixtures and corners deserve particular attention because they contain multiple connections. However, visible cracks do not always indicate the exact location where water enters.
Inside the vehicle, signs of moisture may include ceiling discoloration, musty odors, damp wall panels, or unusual softness around interior surfaces. Water can travel along structural components before becoming visible. As a result, an interior stain may appear some distance from the original roof opening. Careful inspection is necessary before deciding where repairs are required.
Checking the roof after severe weather or long periods of storage can help identify developing problems. If signs of water intrusion appear, arrange a suitable professional inspection rather than relying on guesswork. Hidden moisture may need additional evaluation. Addressing the actual source of water entry is essential for preventing recurring damage.
Important Features to Look for in RV Roof Sealant
One important feature of RV roof sealant is compatibility with the intended roofing material. Manufacturers should identify approved surfaces and suitable applications. Waterproofing performance, flexibility, and resistance to outdoor conditions also deserve attention. A sealant should meet the requirements of the roof system rather than simply have an attractive product description.
Weather resistance is particularly important because recreational vehicles face sunlight, rain, temperature changes, and seasonal exposure. Some sealants are designed to remain flexible after curing, which helps accommodate normal movement. However, no product lasts indefinitely under all conditions. Expected service life depends on the formulation, installation quality, and environment.
Application requirements are another useful consideration. Certain products need completely dry surfaces, specific temperatures, or extended curing periods before water exposure. Others may require compatible primers or specialized preparation. Reviewing these instructions before purchasing helps determine whether the product suits the available repair conditions and maintenance schedule.
How to Apply RV Roof Sealant Properly
A successful sealing project begins with understanding the existing roof condition and the selected product’s instructions. Damaged roofing materials, loose components, or active water intrusion may require professional repair before resealing. The surface must be prepared according to manufacturer requirements. Applying new material over an unsuitable surface can prevent proper adhesion and leave leaks unresolved.
Surface preparation often includes removing dirt, loose debris, and incompatible material using approved methods. However, not every previous sealant should be removed, and aggressive cleaning can damage certain roofing membranes. The product manufacturer should specify appropriate preparation requirements. If the existing roof material is uncertain, professional guidance is preferable to experimenting with cleaning chemicals.
Sealants must be applied using the approved method and under suitable weather conditions. Different products have specific coverage, thickness, and curing requirements. Incomplete coverage or premature water exposure may reduce effectiveness. Because RV roofs can be slippery and may not safely support a person’s weight, roof access and repair work should follow manufacturer safety guidance or be handled professionally.
Common RV Roof Sealant Mistakes to Avoid
One common mistake is purchasing a sealant without confirming roofing material compatibility. Products intended for household bathrooms, general construction, or unrelated surfaces may not be suitable for RV roofing systems. Using incompatible materials can create adhesion problems or damage existing membranes. Always verify that the selected product is approved for the intended roof application.
Another mistake involves covering damaged areas without investigating the underlying problem. A visible gap may be associated with loose hardware, deteriorated roofing material, or concealed moisture. Applying additional sealant does not necessarily correct these conditions. Repair decisions should address the cause of water intrusion rather than simply covering every visible opening.
Ignoring curing requirements can also affect repair performance. Some products need specific temperatures and sufficient time before exposure to rain or washing. Applying sealant during unsuitable weather may lead to poor results. Reading product instructions and planning around environmental conditions helps prevent avoidable mistakes and unnecessary repeat repairs.
RV Roof Sealant vs Roof Coating
RV roof sealants and roof coatings are related products, but they serve different purposes. Sealants are generally intended to waterproof particular seams, joints, and openings. Roof coatings are commonly used to cover larger compatible roof areas. Understanding this distinction helps owners select materials that match the actual maintenance problem.
A localized leak around a roof vent may require a suitable sealing repair rather than coating the entire roof. Conversely, some aging roof systems may benefit from an approved protective coating after appropriate assessment and preparation. A coating should not be expected to repair structural damage or all sources of water intrusion. The existing roof condition determines whether coating is appropriate.
Some roof coatings require specialized primers or may not be approved for particular membranes. They can also affect existing warranties if applied contrary to manufacturer requirements. Before purchasing either product, review the roof documentation and proposed application. Choosing the right treatment helps avoid unnecessary costs and incompatible material combinations.
How Long Does RV Roof Sealant Last?
The lifespan of RV roof sealant depends on the product formulation, roof material, application quality, and environmental exposure. Some properly applied products may remain effective for several years, while others require earlier maintenance. Frequent temperature changes, sunlight, and movement can contribute to deterioration. There is no single replacement schedule suitable for every recreational vehicle.
Visual inspections help identify when existing sealant may need attention. Cracking, separation, peeling, and loss of adhesion can indicate that further evaluation is necessary. However, sealant appearance alone does not always reveal hidden moisture problems. Regular professional inspections can be useful when the roof is difficult to access or its condition is uncertain.
Owners should follow the RV and roofing manufacturer’s inspection recommendations. Maintenance intervals may vary according to climate, storage conditions, and travel frequency. Keeping records of inspections and previous repairs helps track roof condition over time. Planned maintenance is generally easier to manage than dealing with unexpected water damage during a trip.
How Much Does RV Roof Sealing Cost?
RV roof sealing costs vary according to the vehicle size, roofing material, repair scope, and selected products. Small localized repairs may require fewer materials than extensive seam restoration. Professional labor and inspection services can add to the total expense. A complete roof restoration or replacement generally involves a much larger investment.
Before estimating repair expenses, determine whether the problem involves deteriorated sealant or damaged roofing materials. A simple sealant repair may not resolve leaks caused by structural movement or membrane damage. Additional work can include replacing affected components or addressing concealed moisture. A professional assessment helps clarify the actual repair requirements.
When comparing service quotations, ask what preparation, materials, repairs, and inspections are included. Check whether the contractor has experience with your specific roofing system. A low price may not represent good value if essential work is excluded. Choosing a complete and suitable repair approach can reduce repeated maintenance expenses.
Preventive Maintenance Tips for RV Roof Protection
Preventive maintenance begins with regular inspections of roof seams, fittings, and visible sealing materials. Roof vents, skylights, antennas, and exterior edges deserve careful attention. Inspections should follow manufacturer guidance and be performed without unsafe roof access. Identifying loose or deteriorated components early can help prevent larger water intrusion problems.
Keeping the roof reasonably clean may also support better maintenance. Dirt, leaves, and other debris can make it harder to observe surface damage or drainage problems. Use only cleaning products and methods approved for the roofing material. Harsh chemicals and abrasive cleaning techniques may damage membranes, coatings, or existing sealants.
Storage conditions can influence how quickly roofing materials age. Prolonged sunlight, standing water, and severe weather may increase maintenance needs. Suitable covered storage can reduce some exposure when available, but ventilation and manufacturer recommendations still matter. Combining careful storage with regular inspections helps preserve roof condition over time.
Conclusion
RV roof sealant plays an important role in protecting recreational vehicles against unwanted water intrusion. Suitable products can help maintain waterproof seams around vents, skylights, roof edges, and other vulnerable areas. However, different roofing materials require compatible sealants and appropriate preparation. Understanding these requirements is essential for making informed maintenance decisions.
The best roof protection strategy combines early leak detection, suitable repairs, and regular inspections. Sealing over damaged materials without correcting underlying problems can allow moisture issues to continue. Product compatibility, curing requirements, and safe installation practices all affect results. Professional assistance may be necessary when damage is extensive or roof access is unsafe.
Protecting an RV roof before leaks spread can reduce repair complications and help preserve the vehicle’s condition. Begin by identifying your roofing material and reviewing manufacturer maintenance recommendations. Address warning signs promptly and choose materials intended for the specific application. Consistent roof care can support more comfortable travel and longer-lasting vehicle protection.
Frequently Asked Questions (FAQs)
What is the best RV roof sealant for preventing leaks?
The best RV roof sealant depends on the roofing material, repair location, and manufacturer’s recommendations. Choose a waterproof, flexible product specifically approved for your RV’s roof rather than relying on a universal sealant.
Can I apply new RV roof sealant over old sealant?
Some products can be applied over compatible existing sealants when the surface is properly prepared. However, loose, damaged, or incompatible materials may require removal or other corrective work according to manufacturer instructions.
How often should RV roof sealant be replaced?
Replacement depends on product condition, environmental exposure, and manufacturer recommendations. Inspect roof seals regularly and arrange repairs when cracks, separation, or other signs of deterioration appear rather than relying on a fixed interval.
Does RV roof sealant stop all water leaks?
No, roof sealant cannot fix every cause of water intrusion. Damaged membranes, loose fixtures, structural problems, and deteriorated roof components may require additional repairs before a reliable waterproof barrier can be restored.
Is RV roof sealant the same as roof coating?
No, RV roof sealant is generally intended for seams, joints, and localized openings. Roof coatings cover larger compatible surfaces and may provide additional protection, but they do not replace necessary structural or leak repairs.